

The Fridge Restock Method: An Aesthetic Fridge in One Grocery Trip
Why the fridge organization aesthetic actually works
The fridge organization aesthetic is trending +375% on Pinterest right now – and for once, the pretty pictures are pointing at something practical. A fridge where every item has a zone wastes less food, makes groceries faster to put away, and honestly makes you want to open the door and cook.
But here is what most fridge organization advice gets wrong: it stops at buying matching containers. Containers without a system are just expensive clutter. The Fridge Restock Method flips it around. You set up six zones first, then let the zones tell you exactly what to buy and where everything lives. One grocery trip, and the whole aesthetic restores itself.
Here is the method, step by step.
The 6 fridge zones
Every fridge – whatever its size – has the same six zones. Temperature and humidity differ by spot, so where you store things matters as much as how:
- Door: the warmest spot. Condiments, dressings, pickles, and juices live here. Never milk or eggs.
- Top shelf: the most consistent temperature. Leftovers, ready-to-eat foods, drinks, and fresh herbs.
- Middle shelf: dairy, eggs, deli meats, and cheeses.
- Lower shelf: the coldest spot. Raw meat and fish, always contained on a tray so nothing drips.
- Crisper drawers: one for fruits, one for vegetables. Set the humidity sliders if you have them.
- Freezer: the overflow zone. Batch-cooked meals, frozen produce, and anything you are saving from the toss pile.
Save the zone map below. It is free to keep, and it doubles as your grocery list template in Step 5.
Step 1: Pull everything out
Take every single item out of the fridge and line it up on the counter. Check every date as you go and be ruthless: expired condiments, wilted greens, the mystery container from three weeks ago – toss them. If your kitchen needs a bigger reset first, our kitchen declutter checklist walks through the 15 things to toss for a calmer kitchen.
Group what is left by category: dairy, produce, condiments, leftovers. You are about to give each group a permanent home.
Step 2: Deep-clean the shelves
With the fridge empty, wipe every shelf and drawer with warm soapy water. A paste of baking soda lifts the sticky spots. Dry everything thoroughly before restocking, because moisture is the enemy of fresh produce. A clean fridge does not just look better – food genuinely lasts longer in it.

Step 3: Decant into uniform clear containers
This is the visual secret behind the whole fridge organization aesthetic. Decant snacks, produce, and leftovers into matching clear containers – bamboo lids if you want the full look – and label everything. Uniform containers turn visual noise into calm, and because they are clear, you can see what you have without opening six lids. That visibility alone cuts food waste dramatically.
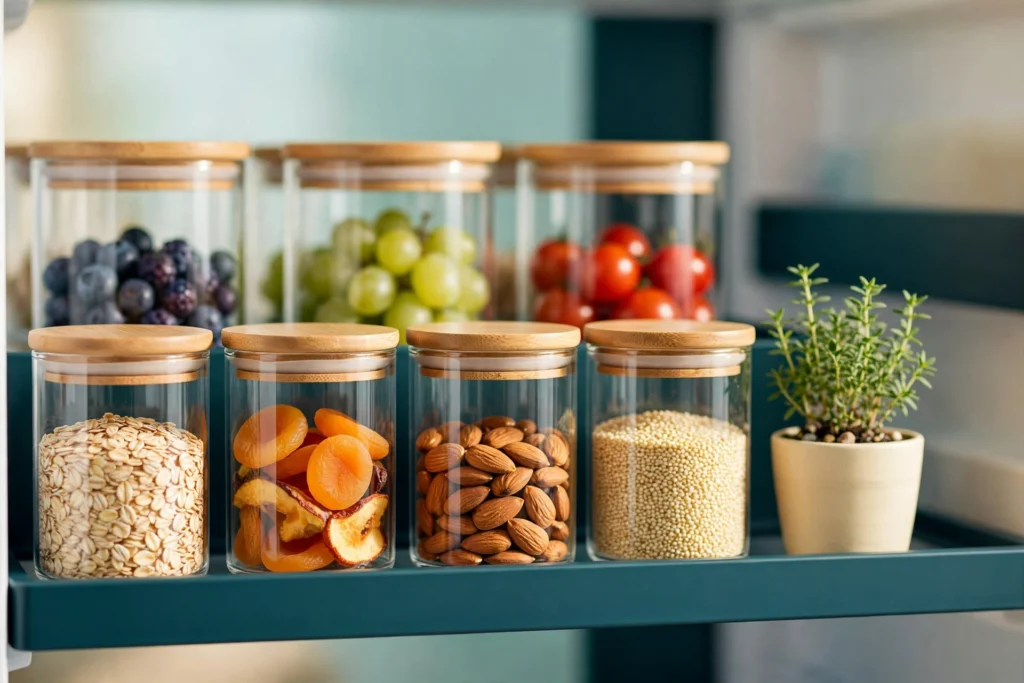
Step 4: Assign every item to its zone
Now put everything back – by zone, not by habit. Dairy to the middle shelf, raw meat to the lower-shelf tray, fruits and vegetables to their crisper drawers. Face labels forward, and keep one small “eat first” bin on the top shelf for things that need using up in the next day or two. When every item has an address, anyone in the house can put the groceries away correctly.
Step 5: The one-trip restock ritual
Here is where the method pays for itself. Shop with your zone map: write your grocery list by zone – door, top, middle, lower, crispers, freezer – and buy only what each zone is missing. When you get home, unpack by zone straight into each container. No more bags sitting on the counter for an hour, no more shoving things wherever they fit. One grocery trip, ten quiet minutes, and the aesthetic is fully restored. Hosting soon? A zoned fridge is the hidden backbone of our thanksgiving guest-ready routine – guests always end up looking in the fridge.
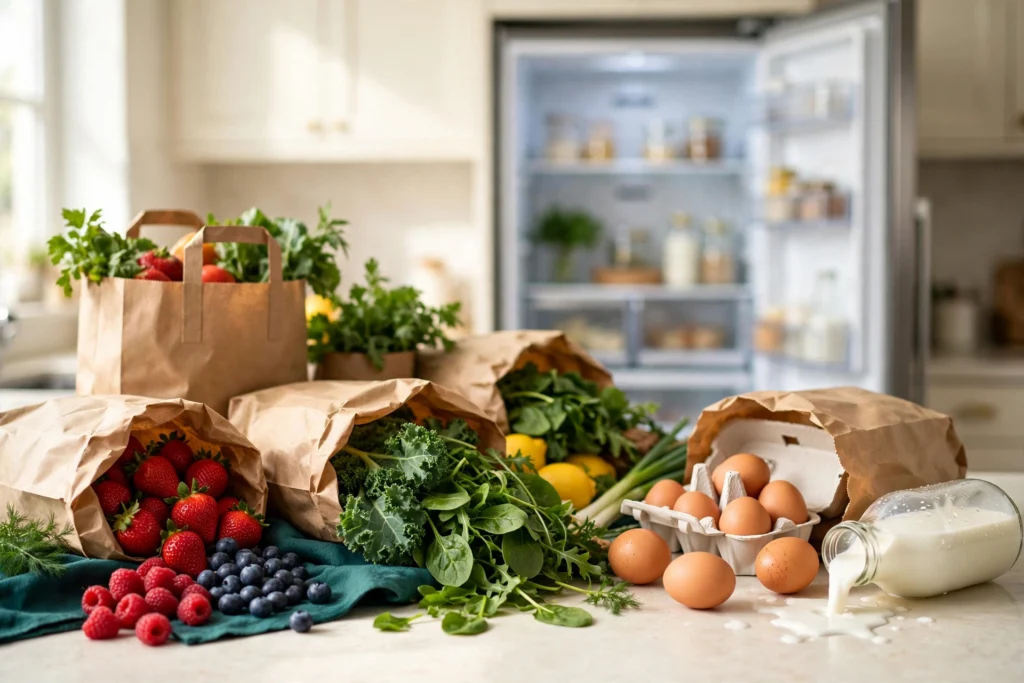
Step 6: The 5-minute weekly reset
You never have to redo all of this. Once a week, right before your grocery trip, do the reset: toss anything past its prime, wipe one shelf, and shift “eat first” items to the front. Five minutes keeps the system – and the aesthetic – intact indefinitely. Pair it with our fall declutter checklist for a full seasonal reset that goes beyond the fridge.
Your free zone map
Right-click and save the zone map infographic above, or print it and tape it inside a cabinet door. Use it as your grocery list template and your unpacking guide. It is the whole Fridge Restock Method on one page.
Fridge restock FAQ
How do I make my fridge look aesthetic?
Give every item a zone, decant into matching clear containers, and label everything. The fridge organization aesthetic is a system – zones plus uniform containers – not a shopping spree.
What are the 6 fridge zones?
The door, top shelf, middle shelf, lower shelf, crisper drawers, and freezer. Store by temperature: condiments in the door, dairy in the middle, raw meat low and contained, produce in the crispers.
How often should I clean out my fridge?
Do the 5-minute reset weekly before grocery shopping, and a full pull-out deep clean once a season.
Do clear containers keep food fresh longer?
The airtight seal keeps food fresh, and the visibility means you actually eat what you buy instead of finding it wilted weeks later. That is where the real savings come from.
Does this work in a small fridge?
Yes. The six zones exist in every fridge. In a small fridge, lean on stackable clear containers and keep the “eat first” bin front and center.




One Comment